Published May 25, 2026
The Ultimate Auto Detailing Checklist: A Step-by-Step Guide
Whether you are a seasoned professional or just starting your auto detailing career, having a reliable checklist is the key to delivering consistent, high-quality results on every vehicle. This comprehensive auto detailing checklist walks you through each stage of the process so nothing gets missed and every customer drives away impressed.
Why Every Detailer Needs a Checklist
Even experienced detailers can overlook steps when they are rushed or working on multiple vehicles in a day. A structured auto detailing checklist eliminates guesswork, reduces callbacks, and ensures every car receives the same premium treatment. It also helps you train new employees faster and maintain quality standards as your business grows. Customers notice consistency, and a repeatable process builds trust and earns referrals.
Beyond quality control, a checklist doubles as a communication tool. When customers see that you follow a documented, multi-step process, they understand the value behind your pricing. It transforms your service from a simple car wash into a professional, systematic treatment their vehicle deserves.
Step 1: Initial Vehicle Assessment
Before you touch a sponge or start any machine, walk around the entire vehicle with the customer. Note any existing damage such as scratches, dents, chips, or stains. Take photos of the vehicle's current condition as documentation. This protects both you and the customer and sets clear expectations for the final result.
During the assessment, identify the paint type, check for aftermarket wraps or coatings, and note any areas that need special attention. Ask the customer about specific concerns, maybe there is a coffee stain on the back seat or tree sap on the hood. Documenting all of this upfront prevents misunderstandings and helps you recommend the right service package.
Step 2: Wheels, Tires, and Wheel Wells
Always start with the wheels and tires. They are the dirtiest part of the vehicle, and cleaning them first prevents brake dust and grime from splashing onto panels you have already washed. Apply a dedicated wheel cleaner to each wheel and let it dwell for the recommended time. Use a variety of brushes, a soft-bristle brush for the face, a lug nut brush for tight spots, and a long-reach brush for behind the spokes.
Scrub the tire sidewalls with an all-purpose cleaner and a stiff brush to remove old tire dressing and road grime. Rinse the wheel wells thoroughly to remove caked-on mud and debris. Once clean, dry the wheels and apply a tire dressing for a uniform, rich finish. For customers who want extra protection, consider applying a wheel sealant or ceramic coating to make future cleaning easier.
Step 3: Exterior Pre-Wash and Rinse
A proper pre-wash is one of the most important steps in preventing swirl marks. Start by rinsing the entire vehicle with a pressure washer to remove loose dirt and debris. Next, apply a pre-wash foam or snow foam using a foam cannon. Allow the foam to dwell for three to five minutes so it can encapsulate dirt particles and lift them away from the paint surface.
Pay special attention to areas that accumulate heavy contamination: lower panels, behind mirrors, around fuel doors, and along trim lines. After the foam has done its work, rinse the vehicle again from top to bottom. This two-step rinse process removes the majority of surface contaminants before you ever make physical contact with the paint.
Step 4: Contact Wash (Two-Bucket Method)
The two-bucket wash method is the industry standard for minimizing scratches. Fill one bucket with clean, soapy water and the other with plain rinse water. Both buckets should have grit guards at the bottom. Dip your wash mitt into the soapy water, wash one panel at a time starting from the top of the vehicle, then rinse the mitt in the clean water before reloading with soap.
Work in straight lines rather than circles to reduce the chance of swirl marks. Use a high-quality microfiber wash mitt and a pH-neutral car wash soap that will not strip existing wax or sealant. Wash the roof first, then the hood and trunk, followed by the upper side panels, and finish with the lower panels and bumpers, which carry the heaviest contamination.
Step 5: Clay Bar Treatment
After washing, run your hand across the paint surface. If it feels rough or gritty, the vehicle needs clay bar treatment. Claying removes bonded contaminants that washing alone cannot eliminate, things like industrial fallout, rail dust, tree sap residue, overspray, and embedded brake dust.
Spray a generous amount of clay lubricant onto a small section and gently glide the clay bar back and forth. You will feel the surface become progressively smoother as contaminants are pulled away. Fold the clay frequently to expose a clean surface. Once the entire vehicle has been clayed, the paint should feel glass-smooth to the touch, this is the foundation for a perfect polish and wax.
Step 6: Paint Correction and Polishing
Paint correction is where the magic happens. This step removes swirl marks, light scratches, water spots, and oxidation, restoring the paint to its original clarity and depth. For minor imperfections, a single-stage polish with a finishing pad on a dual-action polisher is sufficient. For heavier defects, you may need a multi-stage correction starting with a cutting compound and progressively finer polishes.
Work in small sections, about two feet by two feet, using overlapping passes. Keep the polisher moving at all times and use appropriate speed settings, typically around 1,200 to 1,500 RPM for cutting and 800 to 1,000 RPM for finishing. Wipe away residue with a clean microfiber towel and inspect the surface under proper lighting. LED inspection lights or swirl finders will reveal any remaining defects that need additional passes.
Step 7: Wax, Sealant, or Ceramic Coating Application
After polishing, the paint is clean and corrected but also unprotected. Apply a layer of protection to seal in the finish and guard against UV rays, bird droppings, water spots, and environmental contaminants. You have several options depending on the customer's budget and desired durability.
Carnauba wax provides a warm, deep shine and typically lasts four to eight weeks. Synthetic sealants offer longer-lasting protection of three to six months with a glossy, slick finish. Ceramic coatings are the premium option, providing two to five years of protection with exceptional hydrophobic properties and chemical resistance. Apply the chosen product according to manufacturer instructions, working one panel at a time, and buff off with a clean microfiber towel.
Step 8: Interior Vacuuming and Debris Removal
Shift your attention to the interior. Remove all floor mats and shake them out before vacuuming. Use a combination of vacuum attachments, a wide nozzle for the floor, a crevice tool for between seats and center consoles, and a brush attachment for delicate surfaces like the dashboard and door panels.
Vacuum the seats thoroughly, including the seams and crevices where crumbs and debris accumulate. For fabric seats, work in overlapping rows. For leather seats, use a softer brush attachment to avoid scratching. Do not forget the trunk, the headliner edges, and underneath the seats. Use compressed air to blow out dust from vents, button crevices, and hard-to-reach areas around the steering column and center stack.
Step 9: Leather and Upholstery Care
Leather interiors require special attention to maintain their appearance and longevity. Apply a pH-balanced leather cleaner to a soft brush or microfiber towel and gently agitate the surface to lift dirt and oils. Wipe away the residue with a clean, damp towel. Follow up with a leather conditioner to restore moisture, prevent cracking, and maintain a supple feel.
For fabric upholstery, use an appropriate fabric cleaner and a soft-bristle brush to agitate stains. For tougher stains, a hot water extractor provides deep cleaning results. Treat vinyl and plastic trim with an interior detailer that cleans and protects without leaving a greasy residue. Always test products on a small, inconspicuous area first to ensure compatibility.
Step 10: Dashboard, Console, and Trim Detailing
Spray an interior detailing product onto a microfiber towel, never directly onto the surfaces, and wipe down the dashboard, center console, door panels, and any plastic or vinyl trim. Use detailing brushes to clean around buttons, switches, air vents, and other intricate areas. For a factory-fresh matte finish, choose a non-silicone, matte-finish interior dressing.
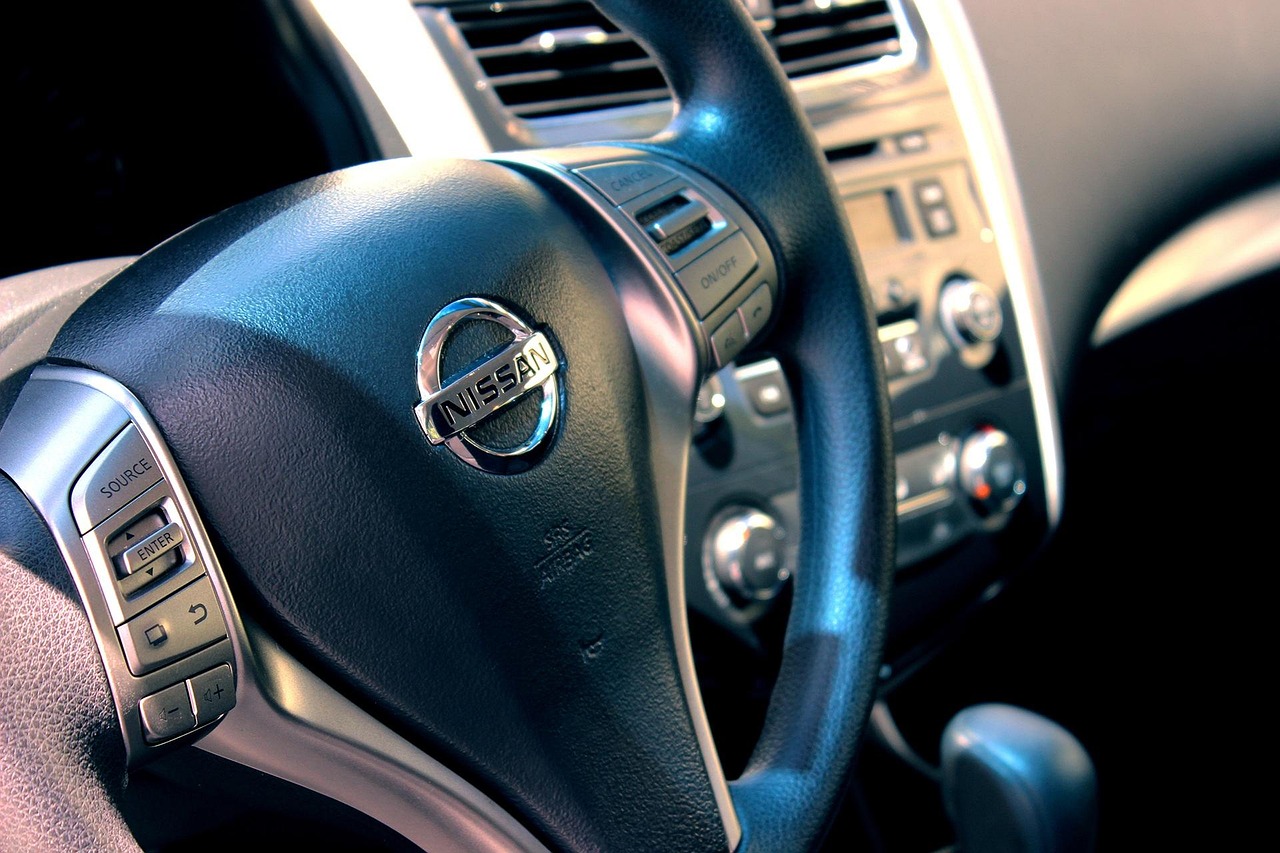
Clean the steering wheel thoroughly since it is one of the most frequently touched surfaces in the vehicle. If the steering wheel is leather-wrapped, use a dedicated leather cleaner. For rubber or polyurethane wheels, an all-purpose cleaner works well. Wipe down the gear shifter, turn signal stalks, and any touchscreen displays with appropriate cleaners.
Step 11: Glass Cleaning (Interior and Exterior)
Crystal-clear glass is a hallmark of professional detailing. Use an ammonia-free glass cleaner and clean, lint-free microfiber towels dedicated solely to glass work. Spray the cleaner onto the towel, not the glass, to prevent overspray on freshly cleaned surfaces. Wipe in straight, overlapping motions, not circles, for a streak-free finish.
The interior windshield is often the most challenging piece of glass to clean due to off-gassing film from interior materials. Use a reach-and-clean tool for the hard-to-reach center of the windshield. Clean all mirrors, side windows, and the rear window. Inspect every piece of glass from multiple angles to ensure no streaks or haze remain. For the exterior, clean the glass after applying wax to remove any residue that may have gotten on the windows.
Step 12: Engine Bay Cleaning
A clean engine bay is an often-overlooked detail that impresses customers and adds value to your service. Before starting, cover sensitive electrical components like the alternator, exposed fuse boxes, and air intake with plastic bags. Use a water-based degreaser and apply it liberally to all surfaces. Allow it to dwell for several minutes, then agitate with various brushes.
Rinse with low-pressure water, never a direct high-pressure blast. Dry the engine bay with compressed air and microfiber towels. Once dry, dress rubber hoses and plastic covers with a silicone-based or water-based dressing for a clean, restored appearance. A well-maintained engine bay also makes it easier to spot leaks and mechanical issues, which customers appreciate.
Step 13: Final Inspection and Quality Check
The final inspection separates good detailers from great ones. Walk around the entire vehicle slowly, checking every panel, window, and trim piece. Look for missed spots, water spots, polish residue, fingerprints, or streaks. Open all doors and check the jambs. Inspect the trunk and under the hood one more time. Sit in the driver's seat and check the interior from the customer's perspective.
Use an LED inspection light to check the paint finish at various angles. Verify that tire dressing is applied evenly and that no product has dripped onto the paint or trim. Ensure all floor mats are placed back correctly and the seats are in their original position. Take final photos of the completed work for your portfolio and customer records.
How a CRM Helps You Track Every Detail
A checklist is more useful when the customer, vehicle, appointment, and notes stay together. MyDetailerPro gives detailers that core record without forcing the workflow into a generic sales CRM.
When a repeat customer books their next appointment, you can instantly see what services were performed last time, what products were used, and any notes about their vehicle's condition. This level of detail allows you to provide personalized recommendations, like suggesting a clay bar treatment if it has been six months since the last one, or recommending a ceramic coating top-up.
Tracking completed services also helps with quality assurance and employee management. If a customer calls back with a concern, you can review exactly what was done and by whom. For business owners managing a team, digital checklists ensure every technician follows the same standard operating procedure, maintaining quality regardless of who performs the service.
Putting It All Together
A thorough auto detailing checklist is more than just a list of steps, it is a commitment to excellence and professionalism. By following this guide consistently, you will deliver results that exceed customer expectations, reduce rework, and build a reputation that drives referrals and repeat business.
The best detailers combine hands-on skill with smart systems. Print this checklist, customize it for your specific service packages, and integrate it into your daily workflow. Pair it with a CRM solution to digitize and automate the tracking process, and you will have a scalable system that supports your business growth for years to come.
Streamline Your Detailing Workflow
MyDetailerPro keeps customer details, vehicle information, appointment history, and notes in one place. Join the free founding detailer beta.
Start Free Trial